VersaTile - My New Tile Pattern Generation System for Substance 3D Designer

General / 04 October 2024

Hi everyone!

I'd like to announce the release of my new tile pattern generation system for Substance 3D Designer: VersaTile!

Background

During my time working at Poliigon.com we worked on many materials that included bricks, parquet, tiles, blocks and pavers. I quickly realised that we needed a system of nodes for generating any such modular patterns that could generate the range of different patterns we needed, maintain tileability, and would allow us to input real-world measurements to generate a texture of an expected size. The system I built there was very effective and achieved what I set out to do, but there were still a few shortcomings that I knew I could improve on.

So, after leaving Poliigon and discussing working on some parquet and tile materials for a client, I decided it was time to work on building my new, redesigned, and heavily improved version of the system. It took me some time but it was something that I needed to do for myself and my own workflow, but is also something that I believe could be of great use to others to help speed up the production of these types of materials.

How does it work?

To summarise, the system includes a collection of pattern generator nodes and utility nodes.

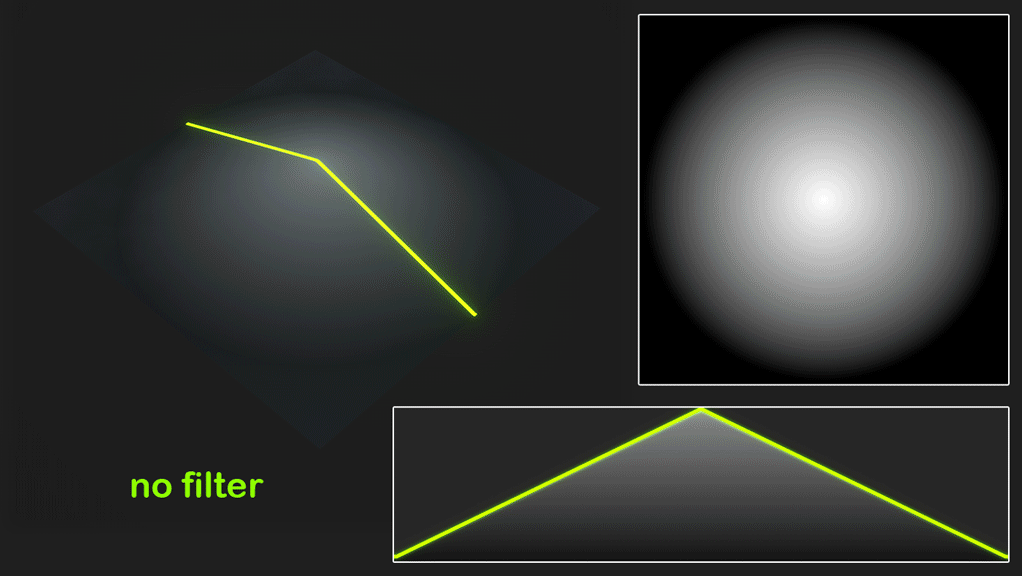
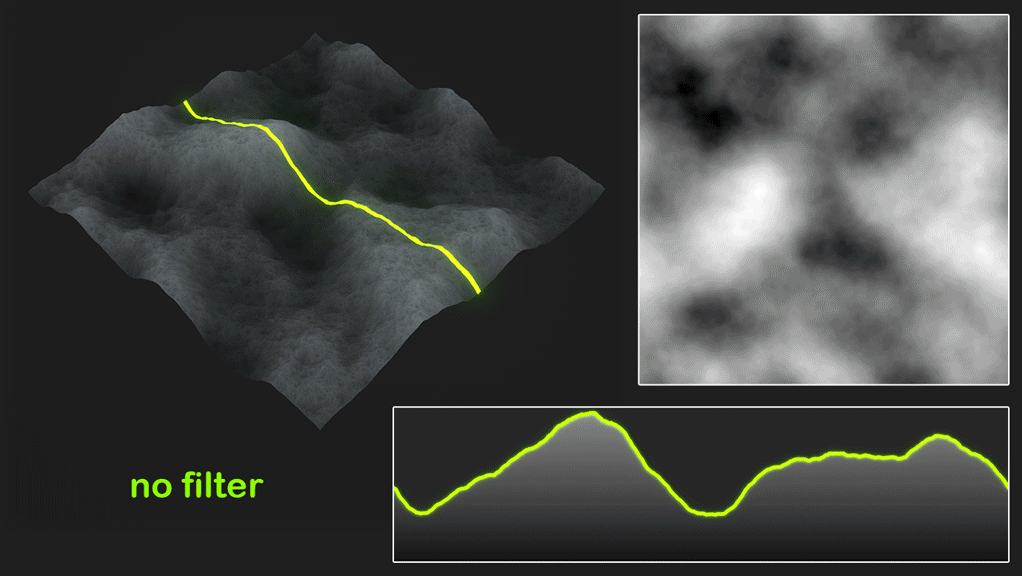
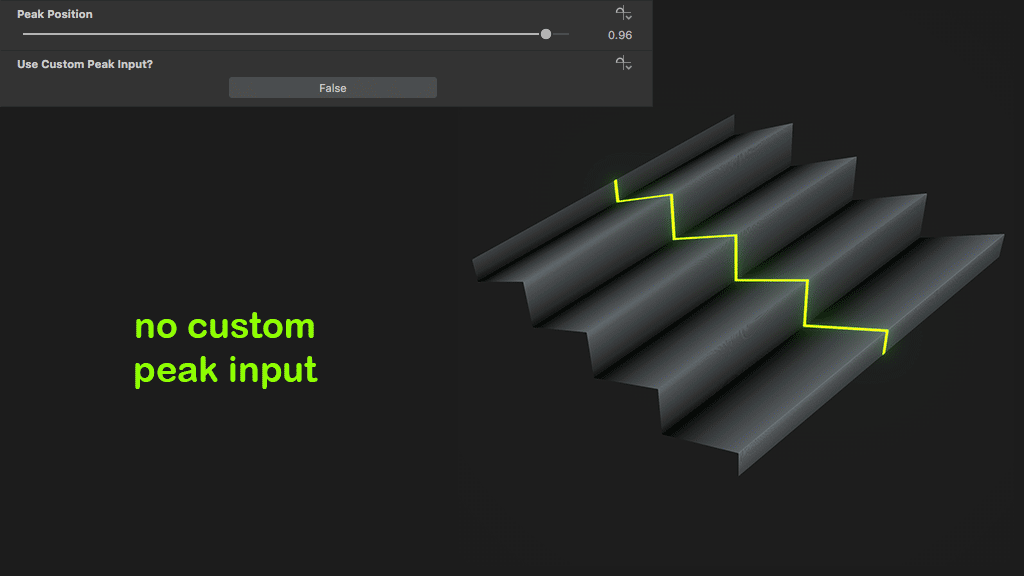
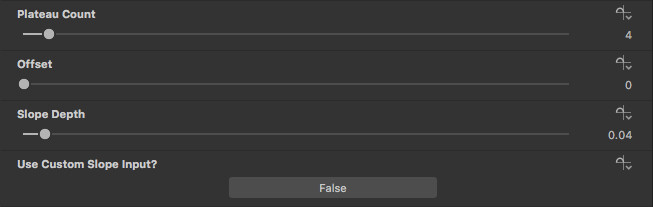
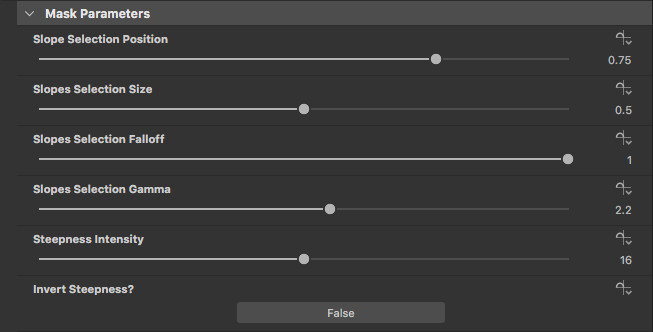
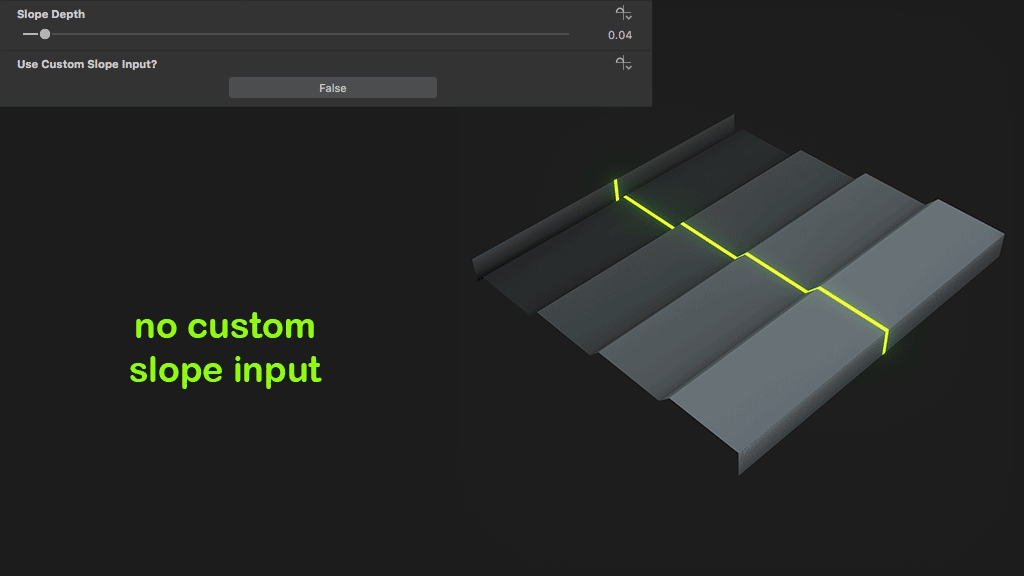
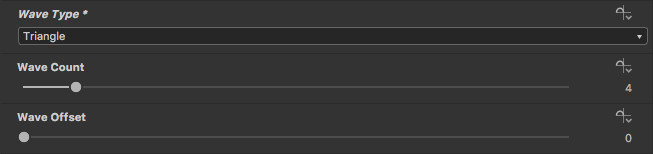
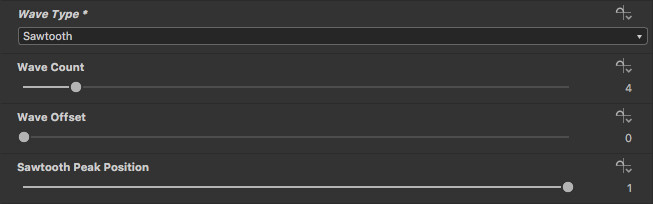
Each pattern generator is tasked with being able to generate a specific pattern and its range of variants, with real-world scaling capabilities, non-square texture size support, the ability to rotate the pattern in 45° increments, parameters to easily adjust the tile shape properties, such as the corner shape and radius, bevel size and depth, and even an optional custom bevel profile input. The generators use the pixel processor, which allowed me to generate, in addition to the tile heights and opacity, a large range of data map outputs, such as UVs, size, position, rotation, and many types of index maps. These data maps are all channel packed into two 32 bit colour maps for efficiency.

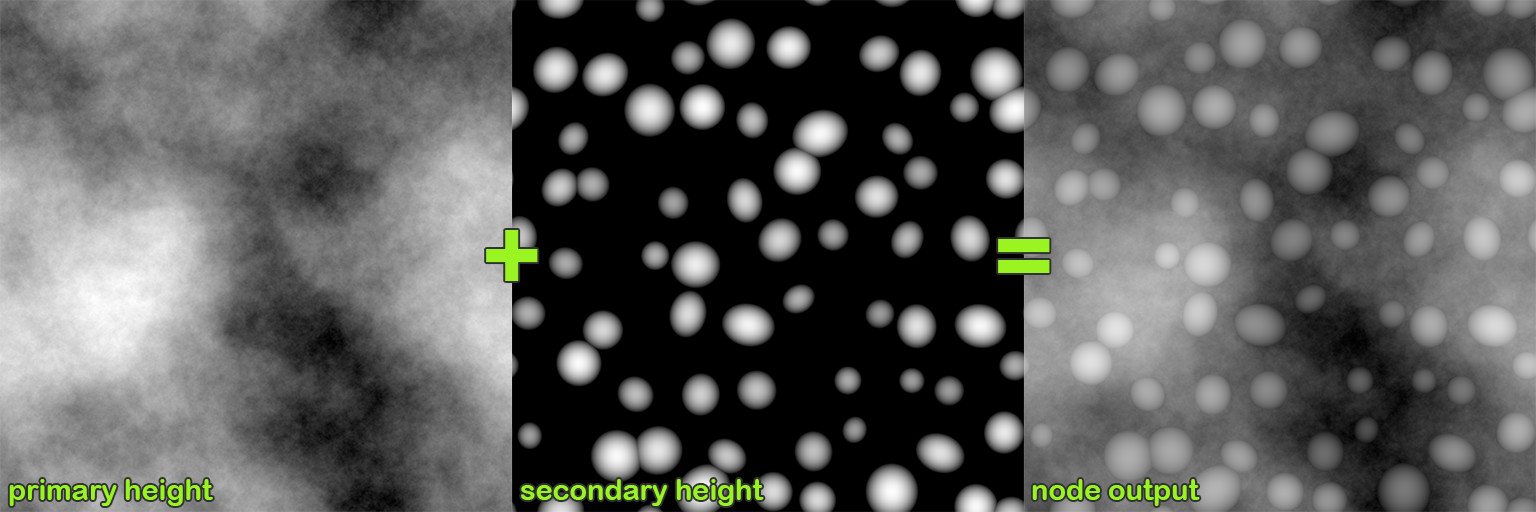
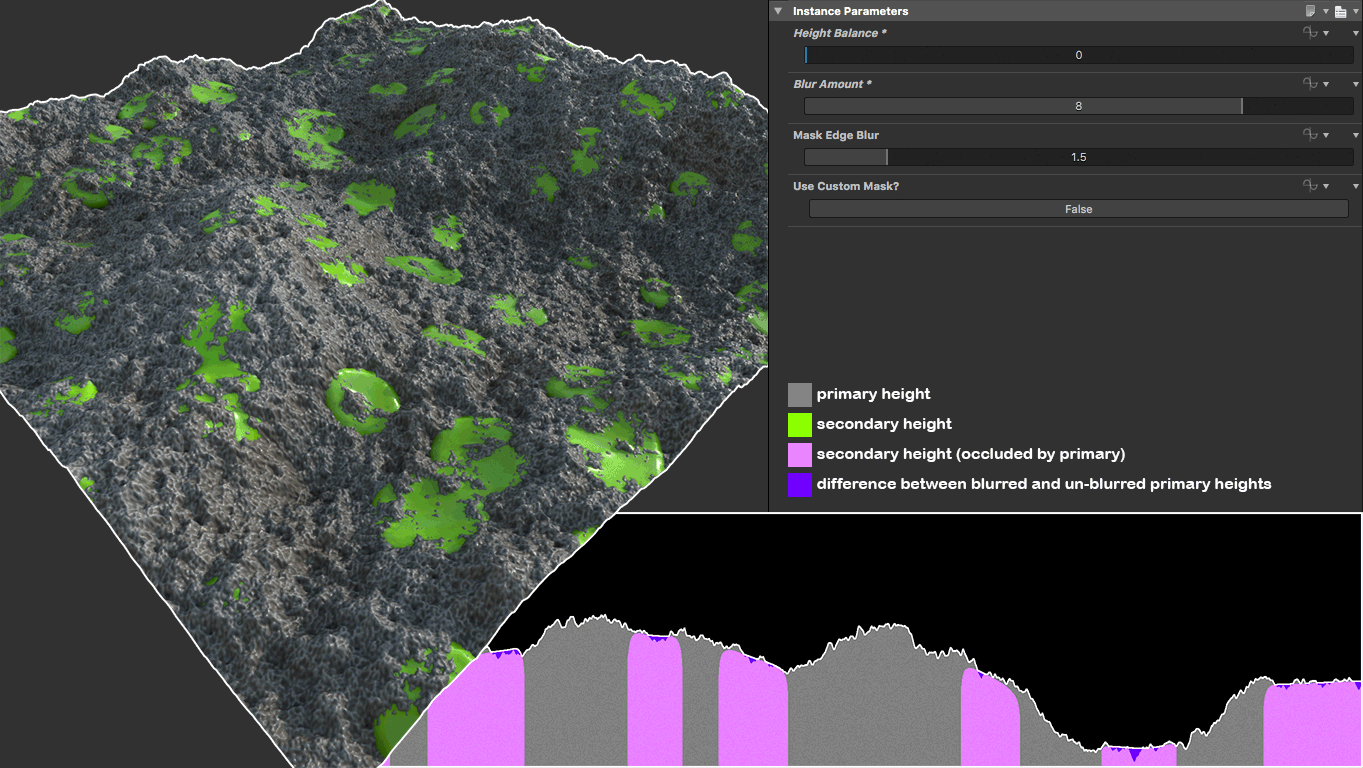
The utility nodes can be used to extract and process the data maps from the pattern generators to output maps useful in the process of developing a final material from the start point that the pattern generators provide. Many of them are very similar to the Flood Fill nodes and can be used in the same way, but with the added advantage of aligned UVs and the ability to have tiles that are completely flush up against each other. Both very useful when creating parquet materials where the boards have no space between them and the direction of the wood grain is important. The nodes can even be used to generate colour sequences to apply to your tiles!

For more detailed information, as well as documentation and a contact form for bug reporting and feature requesting please visit here.

Where can buy it?

The nodes are available to buy separately or as part of a bundle from the following places:

I really hope that the system can help others when working on pattern-based materials to speed up production, remove the need for high levels of technical knowhow and maths skills, and allow artists to just focus on the more artistic and creative aspects of material production. And if you do decide to adopt it please contact me to let me know what you think and if you have any requests. If there are any patterns you need that aren't currently available, the chances are I will be adding them soon, but let me know if you need them as a priority and I'll try to get round to it sooner. I'll be working on brickwork patterns next.

Thanks for reading!

Report

Free Wave Filter Node Pack - Documentation

General / 18 February 2019

Hey everyone.

If you read my recent blog post you'll know that I'm currently spending a lot of my time learning UE4 and attempting to make my first real-time environment. This isn't leaving me much time to make Substance Designer materials (except the ones used in the environment which you'll get to see later), hence the drought lately. As a way of saying thank you to you all for following me and continuing to take an interest in my work, I'm releasing a free node pack containing some potentially very useful wave filters:

  • Sine Wave
  • Sawtooth
  • Plateaus
  • Wave Filters

Wave Filters basically just allows for quick selection of the main waveforms: sine, square, triangle and sawtooth. Triangle is just sawtooth with it's peak set to 0.5, and square is just a clamped triangle. The pack is available to download from my Gumroad.

This post is intended to act as the documentation for the nodes, so I've put together some examples of what the different filters and their various settings do.

The following examples show the effects of the different filters on simple gradient inputs:

Now what about on some peril noise:

And finally let's see it on something more complex, like fractal noise:

And now for the parameters:

Sine Wave:

Applies a sine wave filter to the grayscale input.

Wave Count (float):    Sets the number of waves.

Wave Offset (float):    Offsets the wave phase.


Sawtooth:

Sawtooth filter with controls for changing the offset and peak position. Peak position can also be varied using a custom mask input.

Tooth Count (float):    Sets the number of teeth (same as wave count above).

Phase Offset (float):    Offsets the sawtooth phase (same as wave offset above).

Peak Position (float):    Sets the position of the sawtooth's peak.

Use Custom Peak Input? (boolean):    When set to true, peak position is overridden by a custom mask input. This allows for setting the peak position on a per pixel basis.

Custom Peak Range (float2):    Only available when 'Use Custom Peak Input?' is true. 'Peak Position at Min' is the peak position represented by black on the mask input and 'Peak Position at Max' is the position represented by white.


Plateaus:

Plateaus filter with controls for changing the offset and slope depth. Slope depth can also be varied using a custom mask input.

Plateau Count (float):    Sets the number of plateaus (flat levels).

Offset (float):    Offsets the plateau phase.

Slope Depth (float):    Sets the depth of the slopes between plateaus. At a value of 0 the slopes are vertical, at 1 the slopes completely replace the plateaus and the output matches the input.

Use Custom Slope Input? (boolean):    When set to true, slope depth is overridden by a custom slope input. This allows for setting the slope depth on a per pixel basis.

Custom Slope Range (float2):    Only available when 'Use Custom Slope Input?' is true. 'Slope at Min' is the slope depth represented by black on the mask input and 'Slope at Max' is the depth represented by white.

Plateaus also outputs some pretty useful masks:

  • Plateaus:    The flat areas.
  • Slopes:    The slopes with parameters for tweaking the selection.
  • Steepness:    Black at horizontal parts, white at vertical parts. Has parameters for changing the intensity and for inverting.
  • Height Difference:    Basically the input ran through a sawtooth filter.

You should be able to easily extrapolate whatever masks you want from the ones provided, but I've also included some parameters for tweaking them. The parameters are all pretty self explanatory. 


Wave Filters:

A collection of wave filters based on the main waveforms: sine; square; triangle; sawtooth.

As mentioned before this node is basically a sine wave and modified sawtooth nodes. The parameter names are more standardised and it doesn't include the custom mask input functionality. The majority of parameters are the same as above, except for 'Square Wave Slopes'.

Square Wave Slopes (float):    Sets the slope depth between the black and white values. At a value of 0 the slopes are totally vertical, at 1 the wave profile matches that of a triangle wave.


And that covers it. They're fairly simple filters but I'm sure you'll agree there's a lot of potential with them. One idea is to combine them with curve nodes (I know, right!). Here's my attempt at using the Plateaus to create a Colorado/Arizona like terrain material. I hope that they come in handy to some of you. Have fun creating, and please let me know what you think. Perhaps give me a shoutout if you use them in your material studies.


Enjoy!

Report

Protrude From Height - custom Substance Designer node

General / 13 September 2018

Hi everyone.

I just wanted to share with you all a custom Substance Designer node that I created that's proved to be really handy in lots of situations. I used it in my cracked paint material, and it'll be used again in plenty of my future materials.

I've called this node "Protrude From Height". Not the most snappy name I know, but I think it's pretty descriptive. The purpose of it is basically to allow the user to easily put one height on top of another height. For example, if you wanted to put small rocks on top of an area of varied terrain, or maybe put barnacles and limpets onto rocks. I've made some diagrams to better explain what the node and it's settings actually do.


This shows the two heights I used in my examples and the resulting output (settings = Height Balance: 0.333, Blur Amount: 8, Mask Edge Blur: 1.5).

Height Balance

This shows the effect of changing the 'height balance' setting. The combined heights are normalised to the stay within the 0-1 range and the maximum amount of height depth possible is allocated to each height input. The secondary height is then pushed up by the primary height so that it sits on top.

Blur Amount

This shows the effect of changing the 'blur amount' setting. This blurs the height that the secondary input is pushed up by, reducing how closely the secondary height follows the contours of the primary height. If set to 0, all the roughness of the primary height is passed through to the secondary.

Mask Edge Blur

If 'blur amount' is set to a very high value two things will happen:

  1. The secondary height will sink in high areas, and raise up in low areas.
  2. Any raised up shapes will have steep edges which causes stretching/stepping artifacts...

To fix this I've included a 'mask edge blur' setting which softens off the edges of the mask used to add the 'pushed up' secondary height to the primary. This mask represent the silhouette of the shapes in the secondary height and assumes that all but a height of 0 (black) should be pushed up. This mask can be overridden by setting 'use custom mask' to true. The node also outputs a mask of the parts of the secondary height that protrude above the primary, which can be used to apply different colour, roughness etc. to the protrusions.

For anyone who's interested in the node but doesn't want to buy a whole material to get it, I've made it available separately on my Gumroad at - https://gumroad.com/l/protrudenode. If you've already bought a material that includes the node (currently just the cracked paint) an update will be available shortly that includes the latest version of the node. I hope some of you find this as useful as I have. Enjoy!


Matt.

Report